














The card is written, the power is on, and your laptop comes back with ssh: connect to host raspberrypi.local port 22: No route to host. The green light blinks now and then. You've connected to a Raspberry Pi before on a different board and it just worked, which makes the silence worse.
Almost every failed first connection is one of three problems wearing a network costume. The board never finished booting cleanly because the supply is too weak, it booted but has no path to your laptop, or the path exists and the access service you're aiming at was never switched on. Work them in that order and you stop changing three variables at once.
Table of Contents
- Compare Connection Methods at a Glance
- Prepare the Card for Headless First Boot
- Join a Pi with Ethernet or Wi-Fi
- Log In Over SSH and Confirm the Link
- Reach the Desktop with VNC
- Connect Remotely with Raspberry Pi Connect
- Recover a Pi That Will Not Connect
- Choose an Access Setup Before You Deploy
Compare Connection Methods at a Glance
| Method | What you need | Best for | Works across networks |
|---|---|---|---|
| SSH | Another computer on the same network and the Pi's IP address or hostname | Terminal work, scripts and deployments | No, unless a VPN bridges the networks |
| VNC | Same network and VNC enabled on the Pi | Graphical tasks on the desktop | No, unless a VPN bridges the networks |
| Raspberry Pi Connect | Raspberry Pi ID, internet access on both ends and the service installed | Shell and screen sharing from any device | Yes |
| Serial console | USB-to-serial cable wired to the GPIO UART pins | Boot messages and recovery with no network | Yes, but needs physical access |
| Direct Ethernet link | Ethernet cable from the laptop to the Pi | Setup on a desk with no router | Only on that direct link |
Five routes cover nearly every case, and Raspberry Pi's own remote access documentation names three of them: SSH for secure command-line access, VNC for desktop screen sharing, and Raspberry Pi Connect for remote access through the web. The other two, a serial console and a direct Ethernet link, are the ones that still work when the network isn't there yet.
What separates the routes is what each one assumes. SSH and VNC both assume a local network and the Pi's local IP address, which is exactly why first attempts fail when the lease moved or the laptop landed on a guest SSID. Connect removes that assumption entirely: you sign in at the Connect website with a Raspberry Pi ID, enable and link the service on the Pi, then open the web interface from a PC, Mac or other device. In June 2024 Raspberry Pi expanded Connect with remote-shell access and support for every Raspberry Pi computer, including 32-bit and 64-bit systems dating back to the original Raspberry Pi 1 from 2012.
The choosing rule fits in four lines. On the same LAN, use SSH. If a task needs a graphical desktop, add VNC on top of it. If the Pi sits on a different network, use Connect. If nothing reaches it at all, use serial.
Practical rule: Pick one route for the first login, get it working end to end, and keep the others documented as fallbacks rather than installing all of them at once.
Prepare the Card for Headless First Boot
Every setting that decides whether the first login works is applied before the card ever leaves your laptop. Do this part properly and the rest of the article is short.
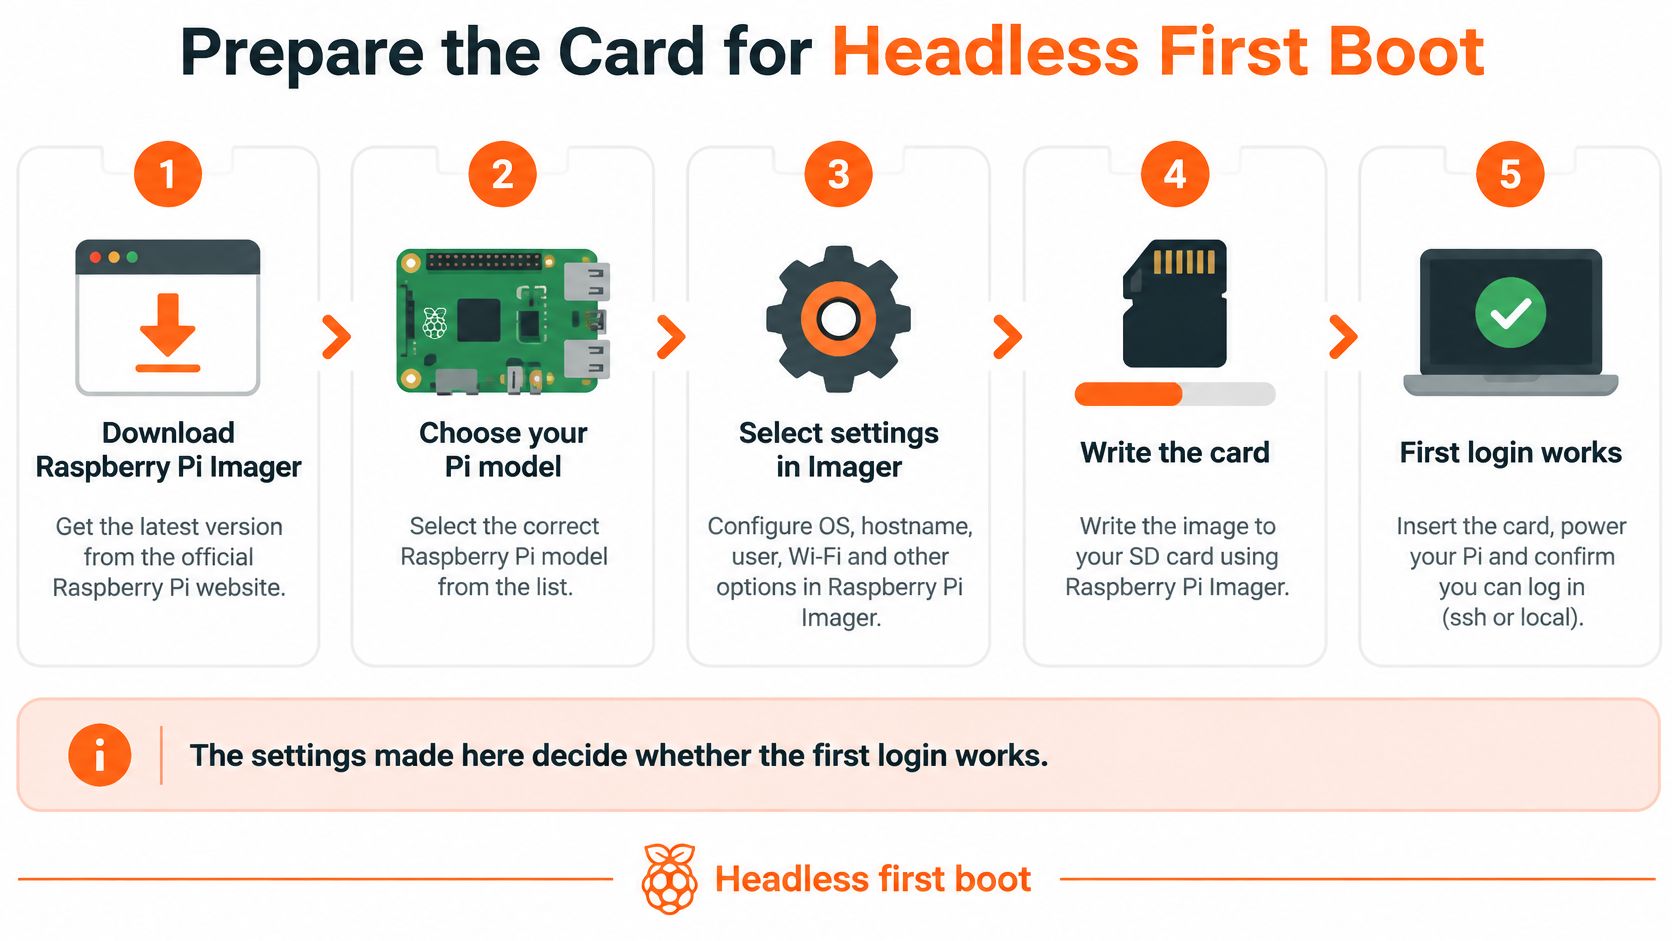
- Download Raspberry Pi Imager and pick the target. Choose your Pi model first, then Raspberry Pi OS (64-bit). The model selection controls which bootloader and options Imager offers, so a wrong pick costs you a reflash later.
- Open the OS customisation panel and set identity. Hostname, locale and time zone go here. The hostname matters beyond tidiness: it's how you'll reach the board as
<hostname>.localwithout hunting for an address, and it's how the device shows up in your router's client list. - Enter Wi-Fi details, including the country. The network name, password and Wi-Fi country all need filling in. A missing country code keeps the radio disabled on many boards, and the symptom looks exactly like a dead network interface.
- Turn on SSH and use a key instead of a password. Set a non-default username, enable SSH, and paste the public key from your laptop. Raspberry Pi's getting started guide documents this imaging flow, and key-based login means you won't retype a password on every reboot while giving automation a credential it can use.
- Write the card and let Imager verify it. The verify pass reads the written image back and compares. Ejecting early, or pulling the card when Windows offers to format it, is how people end up with a half-written boot partition.
- Insert the card, connect power and network, then wait. Give it one to two minutes before you try anything. First boot resizes the filesystem and generates host keys, and connecting during that window produces failures that have nothing to do with your configuration.
A healthy first boot has a signature. The green activity light flickers steadily during startup, then settles into occasional blinks once the system is idle, and the Pi appears in your router's client list under the hostname you chose. If the light flashes in a regular pattern instead, or the board never appears in the client list, stop troubleshooting SSH and look at power and the card.
A Pi that never reaches the client list hasn't failed to accept your login. It has failed to boot or failed to join, and those are different repairs.
Join a Pi with Ethernet or Wi-Fi
This stage only proves the link. Authentication comes next, and separating the two keeps the diagnosis honest.
- Cabled to a normal LAN. Plug the Pi's Ethernet port into the same switch or router as your laptop, apply power, and wait one to two minutes. Wired is the right first attempt because it removes radio, country code and signal strength from the equation in one move.
- No router on the desk. Turn on internet sharing on the laptop (Internet Connection Sharing on Windows, Internet Sharing on macOS) so the machine acts as a DHCP server, run an Ethernet cable straight to the Pi, and wait the same one to two minutes. The Pi gets an address from the laptop and nothing else on the network can interfere.
- Find the device. Try the hostname you set plus
.localfirst. If that doesn't resolve, read the lease from the laptop's DHCP client list, which is the authoritative answer for the address the Pi received rather than the one you assumed. - Wi-Fi, using what Imager already saved. The network name, password and country code from imaging are applied on first boot. A hidden network is the exception: it doesn't broadcast, so saved settings alone won't make the radio associate, and you'll need to add a hidden Wi-Fi network manually through the desktop network editor or
wpa_supplicantbefore the Pi will appear at all. - Ping the hostname from the laptop. A reply means the link is up and ready for the SSH checks that follow.
When the ping fails, stay on the cable and try the address from the DHCP lease before you touch keys or SSH configuration. A name resolution failure and an SSH failure look identical in a terminal and have completely different fixes.
Log In Over SSH and Confirm the Link
The shell prompt is the moment of truth, and everything before it was preparation.
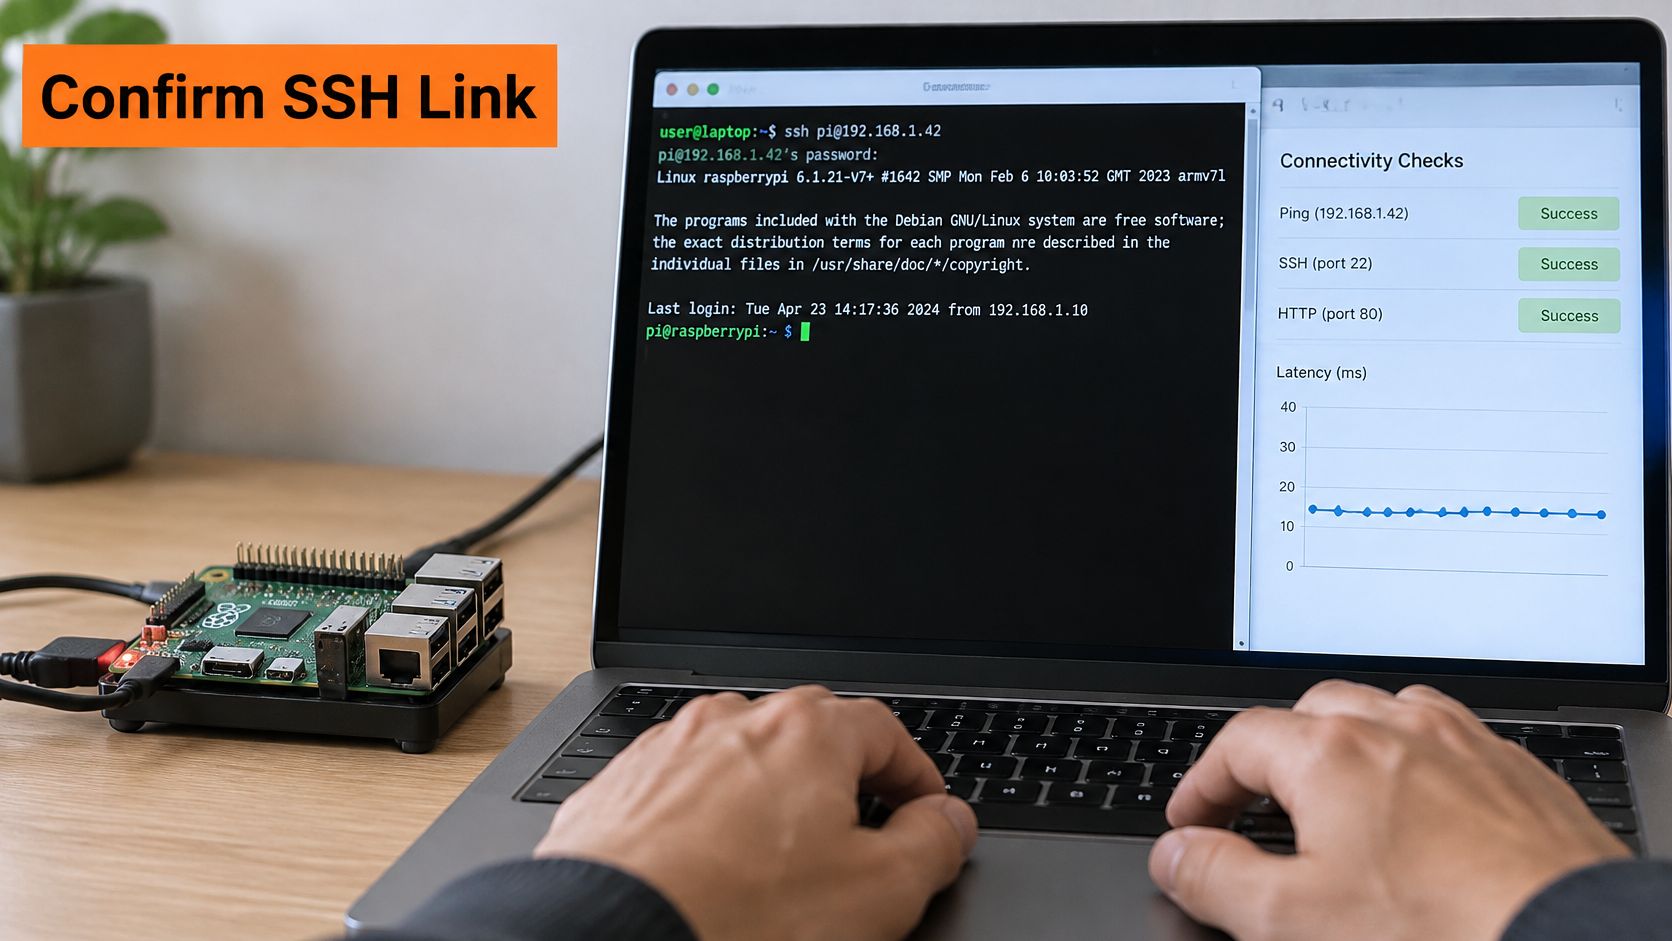
Run the checks in a fixed order, because each one rules out a different cause and changing two things at once teaches you nothing. Raspberry Pi's configuration documentation lays out the same sequence and lists the failure modes that account for most of them.
The check order that finds the fault
- Confirm both machines are on the same network. Not the same building, the same subnet. Guest Wi-Fi commonly isolates clients from each other even when the SSID looks identical, and that isolation is invisible from either device.
- Test name resolution with
ping <hostname>.local. A reply proves mDNS is working. Silence sends you to the numeric address instead. - Test the port with
nc -vz <ip-address> 22. This separates "host is up" from "SSH is listening", which is the distinction that saves the most time. - Log in with
ssh <username>@<hostname>.local, orssh <username>@<ip-address>when name lookup failed. If you want the numeric address of your own laptop for comparison, these Mac and Android IP steps cover the client side. - Get verbose output with
ssh -v <username>@<ip-address>when the login hangs or refuses. The handshake trace tells you whether the failure is DNS, TCP, key exchange or authentication.
The four failures worth memorising
- Guest Wi-Fi client isolation. Both devices are online but the access point blocks station-to-station traffic. Move both onto the main network or use the cable.
- A DHCP address that changed after reboot. The name still resolves if mDNS is healthy, but a stale bookmark in your terminal doesn't. Re-resolve before retyping the command.
- SSH disabled in the image. You can enable it later through Control Centre,
raspi-configunder Interface Options, or by placing an emptysshfile in/boot/firmware/and rebooting. - A stale host key after reinstalling the OS. The board has new keys and your laptop remembers the old ones. Clear the entry with
ssh-keygen -R <hostname>and reconnect.
For an unattended Pi, reserve its DHCP lease in the router so the address stops moving, and record its host key in your own notes or inventory. Success looks specific: the prompt appears without a password request, the host key is saved in known_hosts, and hostname on the Pi returns the name you configured.
Reach the Desktop with VNC
VNC is for the jobs with no command-line equivalent: a vendor tool with a GUI installer, a desktop app that only saves settings through its window, or a first-time configuration you'd rather see than type.
- Enable VNC in Raspberry Pi Configuration or
raspi-configunder Interface Options, then reboot. - Install a VNC viewer on the laptop and confirm it shares a network with the Pi.
- Enter the Pi's hostname or address in the viewer and accept the first-connection prompt.
- Sign in with the Pi user account you created during imaging.
The trade-off is bandwidth. VNC streams the screen in real time, so it's comfortable over wired Ethernet and painful over weak Wi-Fi. Dropping the colour depth or the resolution in the viewer settings recovers responsiveness faster than any network change you're likely to make.
VNC also stops at the network boundary. It doesn't reach a Pi on another site without a VPN bridging the two, which is the case Raspberry Pi Connect's screen sharing was built to cover. The acceptance check is quick: the desktop loads, mouse and keyboard respond, and the session reconnects after a reboot without you reconfiguring anything.
Connect Remotely with Raspberry Pi Connect
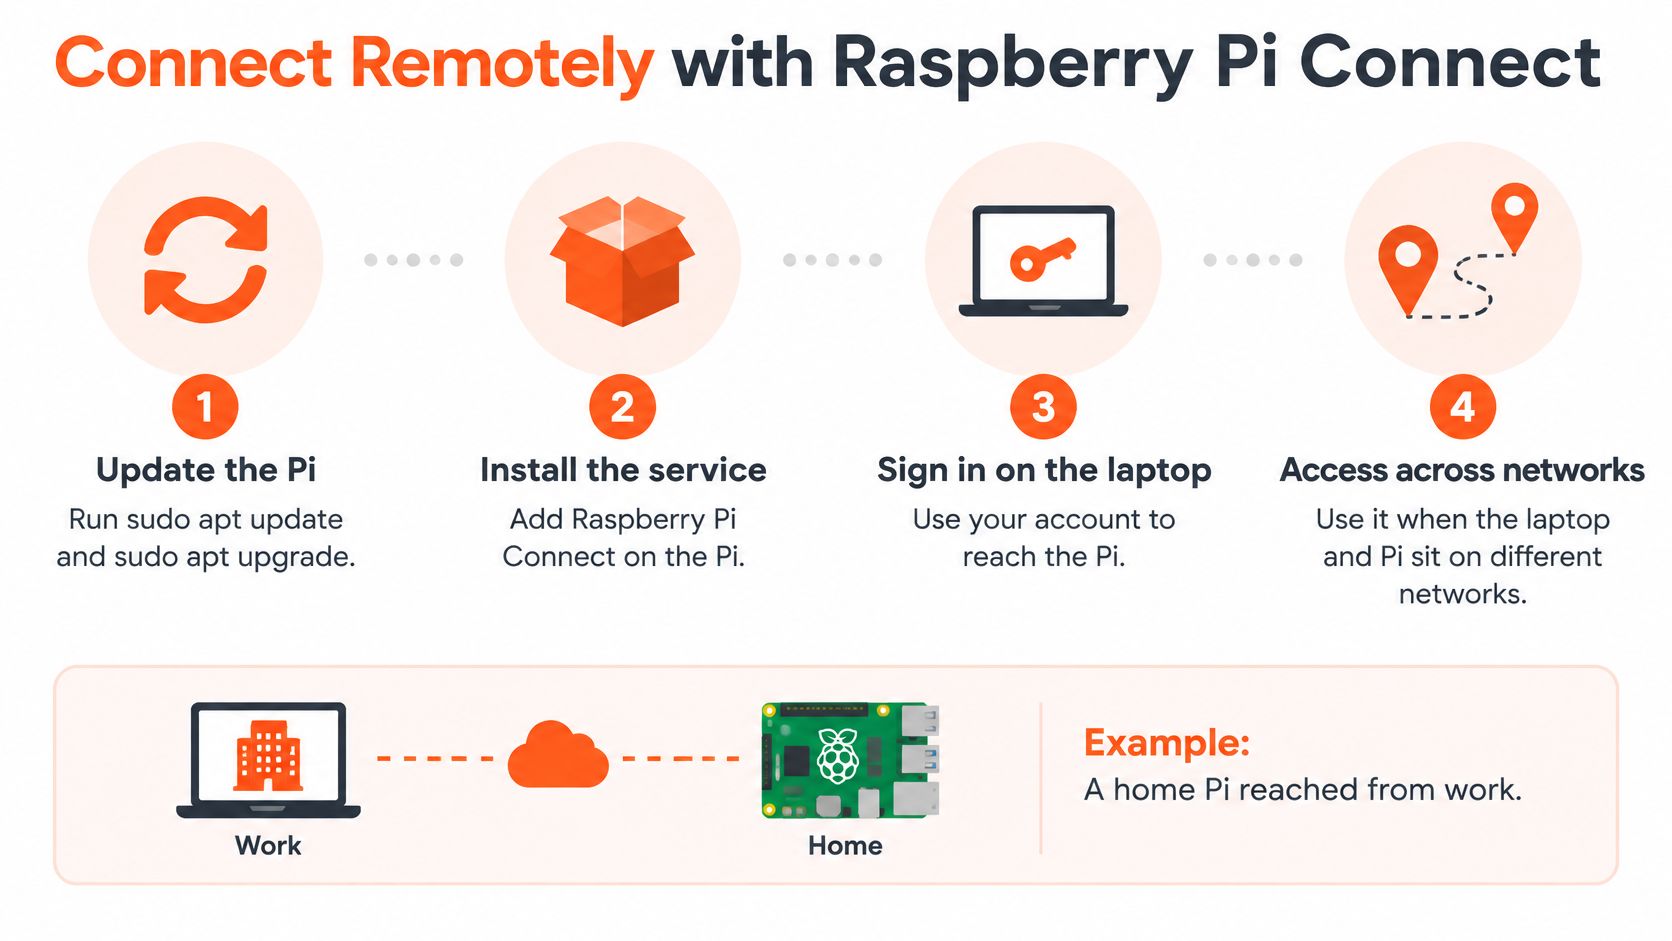
Use Connect when the laptop and the Pi are on different networks. A home Pi reached from the office, a sensor in a relative's house, a demo unit across town.
Install and link the device
- Update the Pi with
sudo apt updateandsudo apt upgradeso the service installs against current packages. - Install the service with
sudo apt install rpi-connect, then reboot if the installer asks for it. Skipping that reboot is the most common reason the next step reports nothing to start. - Start it for the current user with
rpi-connect on. The service documented by Raspberry Pi can also be enabled through the desktop orraspi-config, where terminal access and screen sharing are selected independently. - Sign in at the Connect website with your Raspberry Pi ID and link the device to your account.
- Open the web interface from a second computer and choose terminal access or screen sharing.
The appeal is what you don't have to do. No router changes, no port forwarding, no fixed public address, and no inbound rule opening the Pi to the internet.
The two slips that waste an afternoon
The first is outbound connectivity. If the Pi can't reach the internet, it never shows as online in the web interface, no matter how healthy the local network is. Check outbound access before you reinstall anything.
The second is a service that's installed but not started. The package being present doesn't mean the daemon is running under your user, and an unlinked device never completes the handshake.
Treat Connect as an access path, not as a substitute for hardening. Individual accounts, patched Raspberry Pi OS, and removing access you no longer need still apply.
Acceptance checks before you walk away
- Test from a second network, not the same LAN. A session that works from the kitchen proves nothing about the office.
- Reboot the Pi and confirm the session comes back without manual intervention.
- Revoke the device link and confirm access stops. A revocation you haven't tested is an assumption.
Recover a Pi That Will Not Connect
A Pi that disappears during startup may have a power problem, not a network problem. Check the supply and connected hardware before changing network settings.
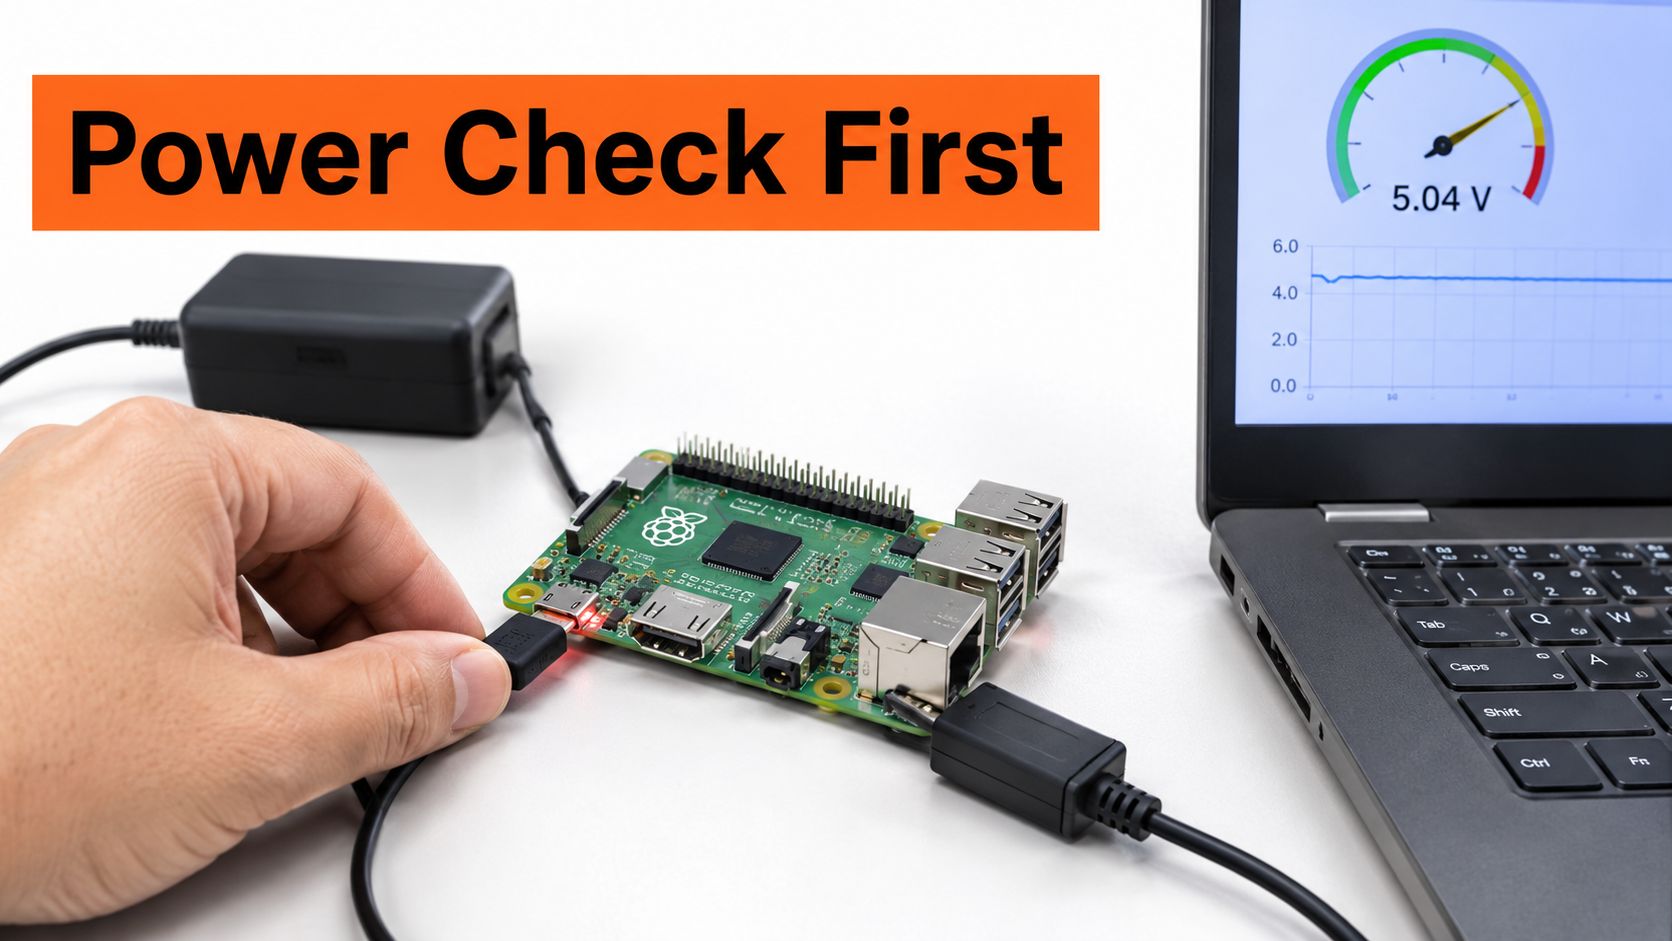
Raspberry Pi's board documentation specifies 5 V at 5 A, or 25 W, for a Raspberry Pi 5 with attached peripherals. With a 5 V, 3 A supply, the USB peripheral current limit drops to 600 mA. A USB disk, camera, or power-hungry adapter can push the board into resets under load, making an unstable Pi look like a network failure.
Power first
- Check the power LED and low-voltage warnings. A lightning-bolt icon or kernel voltage warning points to a supply problem.
- Use a 5 V, 5 A supply, disconnect high-draw USB devices, then reboot. Wait for the network link to come up before testing access.
- Reconnect peripherals one at a time. If the Pi becomes unreliable after adding a device, remove it and check whether the connection stabilizes.
Use serial when network access is unavailable
If the Pi still does not join the network, a USB-to-serial adapter can show boot messages over the GPIO UART. Use 3.3 V logic; a 5 V TTL adapter can damage the GPIO pins. The GPIO documentation describes the GPIO electronics as operating at 3.3 V and gives 16 mA as a safe current for the pad electronics. The 3.3 V rail has a limited current budget, so driving many pins at high current can overload it. Motors, relays, and LED arrays need driver circuitry rather than a direct GPIO connection.
Connect the grounds, then cross the serial lines: adapter TX to Pi RX, and adapter RX to Pi TX. Open a serial terminal at 115200 baud. This connection does not depend on Wi-Fi or Ethernet, so it can reveal whether the Pi is booting even when the network is down. From the shell, check the network address or enable SSH.
| Symptom | Likely cause | Fix |
|---|---|---|
| Pi never appears on the network | Supply too weak for a Raspberry Pi 5 | Use a 5 V, 5 A (25 W) supply and check for a low-voltage warning |
| Connection drops under disk, camera, or USB load | USB current limit reached with a 5 V, 3 A supply | Use a 5 A supply and disconnect high-draw USB peripherals |
| No cable, Wi-Fi, or router path available | Network path is down | Open a 3.3 V GPIO UART serial console |
| Serial terminal shows garbage or nothing | 5 V TTL adapter, missing ground, or TX and RX not crossed | Use 3.3 V logic, connect a common ground, and cross TX and RX |
Choose an Access Setup Before You Deploy
A Pi that is reachable on the bench can still be difficult to manage once it is installed at a classroom, lab, or remote site. Choose the primary access route and a fallback before deployment, and make sure both fit the network and the people who will use them.
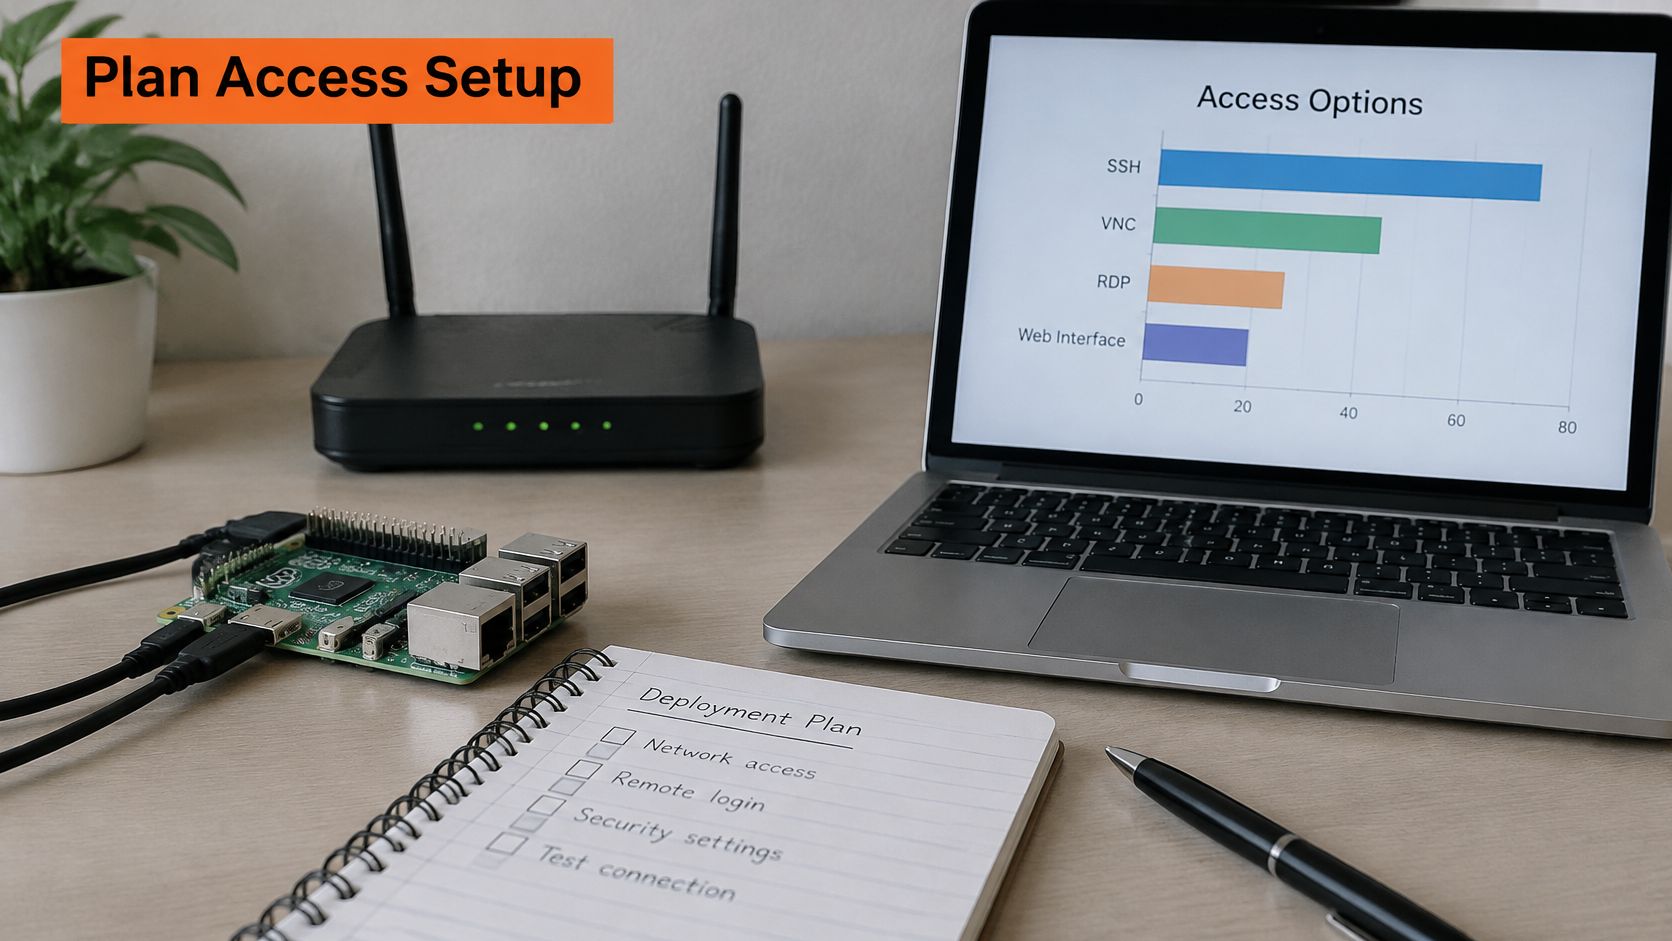
Local SSH suits devices on a trusted LAN. A VPN provides a route into a private network for off-site administration. Raspberry Pi Connect supports browser-based access, while exposing a service directly to the public internet increases the device's exposure and needs a deliberate security design.
Raspberry Pi's 2024 milestone announcement reported that industrial and embedded customers accounted for more than two-thirds of sales when cumulative shipments passed 60 million. At fleet scale, access is an operational choice: devices need to be provisioned, monitored, patched, and eventually decommissioned through a defined process.
Rules that apply to every route
- Do not port-forward SSH directly to the public internet. Use a VPN or another controlled access route for administration from outside the local network.
- Use public-key login and a separate account for each person. Individual accounts make it possible to revoke one person's access without changing everyone's credentials.
- Restrict inbound SSH at the network edge and grant each account only the permissions it needs.
- Review access regularly. Rotate keys when appropriate and remove unused accounts and device links, including links in Connect.
- Keep an inventory and record administrative sessions where governance requires it. For any remote access service, understand what connection information it processes and how that fits your privacy requirements.
Match the model to the setting
For a home lab on one LAN, use SSH and reserve the Pi's network lease so its address stays predictable. In a classroom, Connect can simplify browser access; use individual accounts and enable screen sharing only when a lesson requires it. For a field fleet, a VPN can provide a recovery route if browser-based access is unavailable, though it still depends on the Pi having outbound connectivity. A regulated site can add session logging and a named key-rotation date to the same setup.
Write down the primary route, the fallback, and who manages access. Test both routes on a spare card before deployment. Connecting the access layer to monitoring and data pipelines helps keep a fleet maintainable. devPulse connects applications, APIs, and data sources into integrated ecosystems, supporting systems that need to work together.
When Raspberry Pis move from a desk to a classroom, lab, or distributed site, their access model needs to fit the wider system. devPulse designs, builds, and maintains custom digital systems, including integrations that connect applications, APIs, and data sources. For help planning an access setup as part of a broader system, talk to devPulse.